Sending orders straight from the kiosk (Print Server):
- Press the bottom, left corner of the intro screen.
- Enter the pass code (default is 1234).
- Select the Setup Wizard.
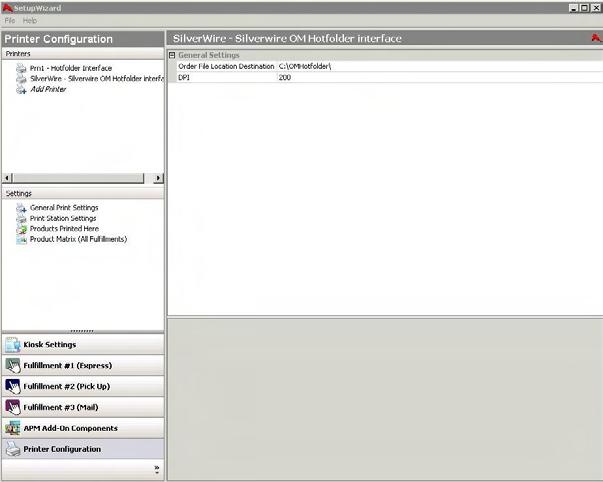
Setup Wizard Printer Configuration Screen
Using Lab 50 installed on a separate computer:
- Click on the Settings tab in Lab 50.
- Select the Fulfillment option on the left side of the screen to expand it.
- Select Print Server
- Press the Setup Wizard button, and the Setup Wizard will launch.
Once you have the Setup Wizard open:
- Click on Printer Configuration.
- Click on Add Printer.
- In the menu at the right, select Silverwire OM Hotfolder Interface.
- In the Printer Name field, enter “Silverwire”, or any name you wish to use.
- Click the Add button.
- Click on the newly created Silverwire OM Hotfolder Interface option in the top, left corner to display the options for this interface.
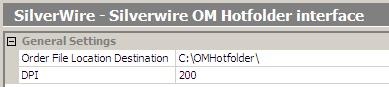
Silverwire OM HotFolder General Settings:
- Order File Location Destination: The folder in which order images will be placed. By default this is C:\OMHotFolder, but it may also be a UNC type location such as \\StorageServer\APMOrders. As long as the machine can see the folder and write to it, then the Hot Folder path can be anywhere on the network.
- DPI: Enter the desired output DPI in this field. The default value is 200.
Silverwire OM Hotfolder Printer Interface