Step 1 - Open the Case: |
|
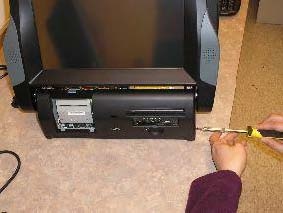
- Start by taking out the screws from the rear casing. There are four on top and one on each side.
|
 |
- There is a fifth screw located behind the monitor and underneath the receipt panel, make sure to unscrew that as well.
|
 |
- Once the casing is unscrewed, remove the casing from the hardware.
|
 |
|
|
 |
- Unscrew the side-mounted screws from the front panel.
|
 |
- Pull to remove the front panel.
|
 |
Step 2 – Remove/Replace the Card Reader and/or CD Drive: |
|
- Take the screws out of the card reader bracket.
|
 |
- Unplug the IDE cable and power supplies connected to the CD/DVD drive.
|
 |
- Unplug the PCMCIA SCSI cable from the SCSI card.
|
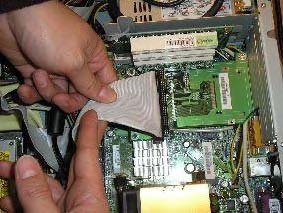 |
- Unplug the USB connected to the inside of the card reader. The card reader should slide out of the front of the unit.
|
 |
- To replace the CD/DVD drive, get a small screwdriver and unscrew it from the bracket.
|
 |
- Slide the CD/DVD drive forward.
|
 |
- To replace the card reader, unscrew the large screws from the bracket.
|
 |
- The card reader should slide forward.
|
 |