...
Once you've downloaded the back lab burner software, you will need to install it on the same machine as the Lab50 software. Click Next on the initial installation screen and follow the prompts to install the software. You will be prompted to install Microsoft DirectX as part of this process, and you must install it for the software to function properly.
| Wiki Markup |
|---|
{| Advanced Tables - Table Plus |
|---|
:align=center|columnAttributes= | | style="text-align:center;" |
| }
|!BLBsetup.jpg|thumbnail,border=1!|
{table-plus}
| Wiki Markup |
|---|
|
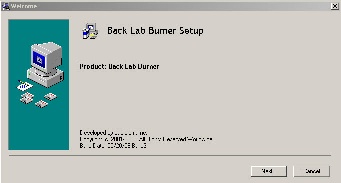 Image Added Image Added
|
|
| Advanced Tables - Table Plus |
|---|
{table-plus:align=center|columnAttributes= | | style="text-align:center;" | | align | center |
|---|
|
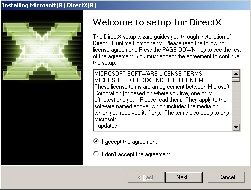 Image Added Image Added
|
|
Once installation is complete, restart the machine, and access C:\BackLabBurner. In the folder, locate the BackLabBurner.exe file and double-click on it to bring up the software activation screen. You will be prompted to enter your credentials. Your licensing information is contained in the setup email sent via Lucidiom Support. If you do not have the original email, please email support@lucidiom.com for your credentials.
Once you have entered the credentials, click OK. The Back Lab Burner application will launch, and you will be able to access additional configuration screens via the Settings > Options menu. unmigrated-inline-wiki-markup
{| Advanced Tables - Table Plus |
|---|
:align=center|columnAttributes= | | style="text-align:center;" |
| }
|!BLBapp.jpg|thumbnail,border=1!|
{table-plus}
| Wiki Markup |
|---|
|
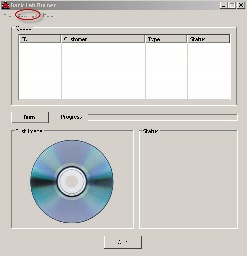 Image Added Image Added
|
|
| Advanced Tables - Table Plus |
|---|
{table-plus:align=center|columnAttributes= | | style="text-align:center;" | | align | center |
|---|
|
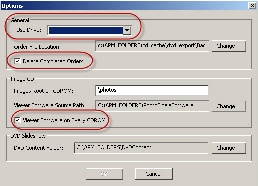 Image Added Image Added
|
|
In the Options menu, you will need to select your drive from the drop-down list if you have more than one drive. If you receive a message that no drives were found, and you have a burn capable device installed on the machine, please contact Lucidiom support for additional assistance with getting the drive recognized by the software.
...
In Lab 50, you will need to enable the option to use Back Lab Burner for processing CD and DVD orders. To do so, you'll need to enable media products in your product catalog. This may be done by accessing Store Management > Product Catalog > Media Products, right-clicking on the products you wish to offer, and selecting Enable the Selected Products. Lastly, access Settings > Fulfillment > Back Lab Burner and check the box at the top of the screen.
| Wiki Markup |
|---|
{| Advanced Tables - Table Plus |
|---|
:align=center|columnAttributes= | | style="text-align:center;" |
| }
|!ProductCatalog.jpg|thumbnail,border=1!|
{table-plus}
| Wiki Markup |
|---|
|
 Image Added Image Added
|
|
| Advanced Tables - Table Plus |
|---|
{table-plus:align=center|columnAttributes= | | style="text-align:center;" | | align | center |
|---|
|
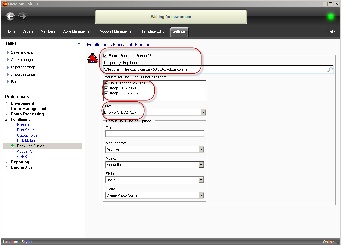 Image Added Image Added
|
|