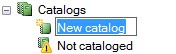
Once you have enabled all of the products that you would like to offer on your website, you'll need to add them to a new or existing web product catalog. You may configure multiple product catalogs, but by default the products to be offered on the website will be polled from the default product catalog. The default catalog is denoted with a blue checkmark icon, and it may or may not be named Default. For additional information on assigning catalogs to your Photo Finale website, please see the section on Application Settings in Chapter 3.
Adding a New Catalog and Creating Categories:
| Advanced Tables - Table Plus | ||||
|---|---|---|---|---|
| ||||
|
...
**Note: You cannot add products to a catalog without first adding them to a category. To setup a catalog, you will need to first create the catalog, then create a category, and then select to add products within a category.
To add additional categories to the Default catalog:
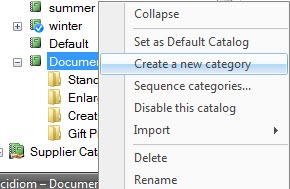
1. Right-click on the default catalog and select "Create Category".
2. Type in a name for the new category, and press Enter.
3. Continue to add Categories within the Catalog until you've created all of the category options you would like available on the website.
Adding Products to the Default Web Catalog
Once all of your desired categories have been added, you'll need to add your web products to the default catalog.
...
| Advanced Tables - Table Plus | ||||
|---|---|---|---|---|
| ||||
|
Creating Additional Product Catalogs
You can create additional product catalogs to push remote pricing updates to your kiosks or to start setting up for a planned product offering change. This feature is often utilized by labs to change the products/pricing listed on the website for special promotions and then reverted back to the original information by simply changing which catalog is set as the default.
Catalog Options:
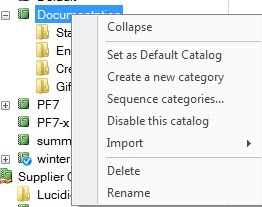
To view options available for customizing the default catalog, right-click on the catalog you wish to edit. The menu options are as follows:
...
| Advanced Tables - Table Plus | |||||||||
|---|---|---|---|---|---|---|---|---|---|
| |||||||||
|
Category
...
Options:
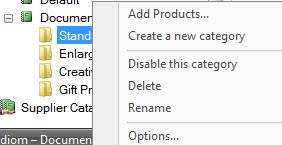
To view options available for customizing a category within a catalog, right-click on the category you wish to edit. The menu options are as follows:
- Add Products: Add products to be offered within the category.
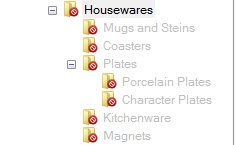
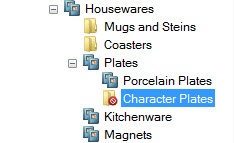
- Create a new category: Create a new category within the category. This option is new with version 7.5 and is to mirror the product groupings available on the kiosk. Example: Housewares gift products divide into Mugs and Steins, Coasters, Plates, Kitchenware, and Magnets. These catagories also divide into further groups such as Porcelain Plates and Character Plates.
- Enabled/Disable this category: Enables or disables the category on Photo Finale web. You can disable entire categories or sub-categories within a category.
- Delete: Removes the category or sub-category.
- Rename: Renames the category or sub-category within the catalog.
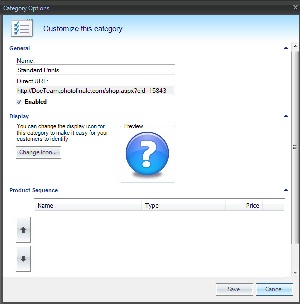
- Options: Opens a window to organize the products listed within the category. This window also provides a direct url link to the category for use in linking Start Page ads, and it provides a means of adding/changing icons for individual sub-categories.
To change the icons associated with a category:
- Right-click on the category for which you would like to add/change an icon.
- Select the Options menu. The current icon, if one has been assigned, will appear in the preview window.
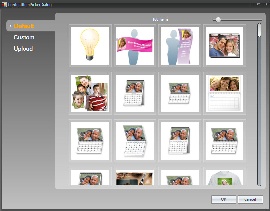
- Click on the Change Icon button, and the Category Icon Selection screen will open. The options on the left panel do the following:
- Default: Displays Lucidiom default icon set. These icons match the icons used in the APM software.
- Custom: Displays any icons that have been uploaded to your account.
- Upload: Allows you to add a new icon to your custom library.
4. Once you have selected an icon, press the Ok button.
**Note: If you hover over an icon, the full file name will be displayed.
| Advanced Tables - Table Plus | ||||
|---|---|---|---|---|
| ||||
|