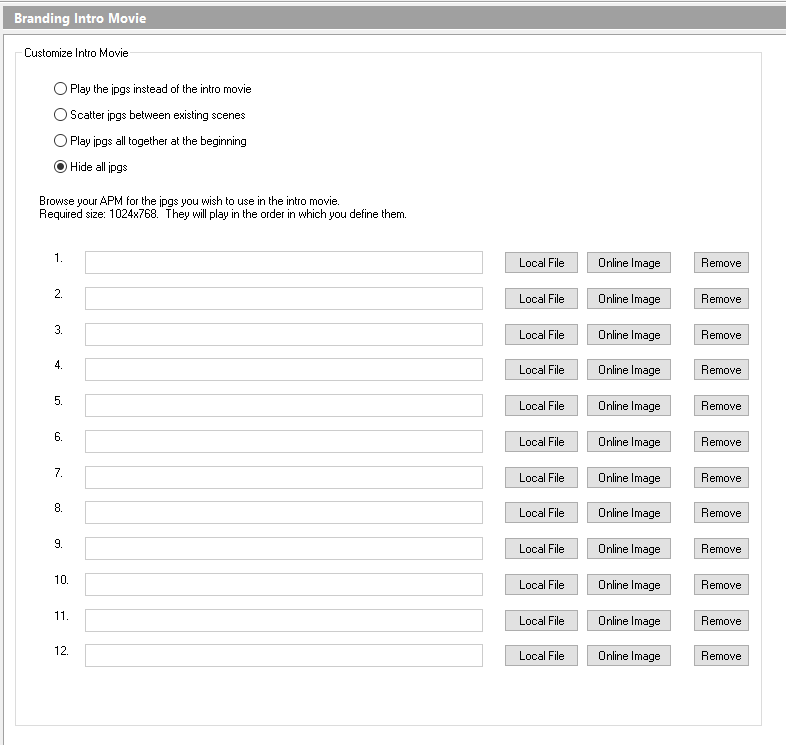
To customize the APM intro movie, click on the Intro Movie option in the Primary Navigation Pane, underneath the Branding section. You can select how the images are displayed by clicking the radio button next to your preferred option from the following options:
- Play the jpgs instead of the intro movie
- Scatter jpgs between existing scenes
- Play jpgs all together at the beginning
- Hide all jpgs
To add custom content to the intro movie:
- Create a JPEG file sized 1024x768 pixels, and save it on the kiosk’s hard drive or on your own web server. The image must be 1024x768, or it will not work in the software.
- To add this image to the intro movie, click on the Local File or Online Image button. The local file option will require you to find the image saved on the hard drive, while the online option will display a URL dialogue window prompting for the web location. Once you have entered the necessary information, the image should appear in the list.
- You may add up to 12 JPEG files. Use the radio buttons above the browse boxes to customize how the selected JPEGs are presented to the user.
- To remove a JPEG file from the movie, simply hit the Remove button.
Pro Tips:
- If you have multiple kiosks, host the images on your website (or somewhere you can link to them), then use that URL as "online image" on all your kiosks.
- When you want to update an online slide, use just replace the online file. And that slide will be updated across your fleet.