The Copal Dye-Sub Printer interface allows the APM or Lab 50 software to print orders generated from an APM to one or more Copal printers directly attached to the machine. This interface enables special Copal capabilities that are not in the Windows driver.
**Note: If the Copal is only printing a single size, then it is best to load the Windows driver and use the Windows printer interface instead of this one.
Prerequisites
- The Windows driver for the Copal printer needs to be properly installed and configured to print the correct size on the APM or Lab 50 machine.
- The Copal Printer needs to have the latest firmware installed.
- If more than one printer is installed, then each printer needs to have a unique ID. (This is the number found on the LED display on the front of the printer).
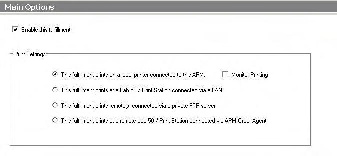
- If Lab 50 is not present in the local installation, then at least one or more fulfillments must be enabled to print to a local printer connected to the APM. This is seen in the screenshot below, taken from the main options of an enabled fulfillment in the Setup Wizard.
Print Settings
Setting up Copal Dye-Sub Printer Using Setup Wizard
The Setup Wizard is used to configure the Copal Dye Sub Printer Interface.
This process includes the following steps:
- Adding the printer interface and editing the general settings.
- Assigning printable products to the interface.