...
- Right-click on the default catalog and select "Create Category".
- Type in a name for the new category, and press Enter.
- Continue to add Categories within the Catalog until you've created all the category options you would like available on the website.
| Wiki Markup |
|---|
{| Advanced Tables - Table Plus |
|---|
:align=right|columnAttributes= | | style="text-align:center;" | | align | right |
|---|
|
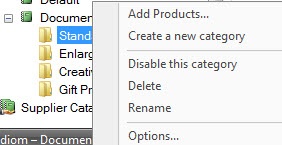 Image Added Image Added
| Category Options |  Image Added Image Added
| Disabled Category Tree |  Image Added Image Added
| Disabled Sub-category |
|
Category Options:
To view options available for customizing a category within a catalog, right-click on the category you wish to edit. The menu options are as follows:
...
**Note: If you hover over an icon, the full file name will be displayed.
| Wiki Markup |
|---|
{| Advanced Tables - Table Plus |
|---|
:align=center|columnAttributes= | | style="text-align:center, |
| | style="text-align:center;" | | align | center |
|---|
|
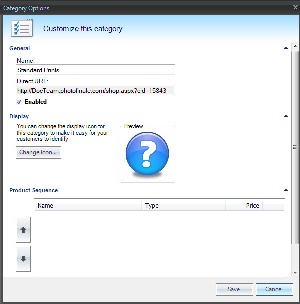 Image Added Image Added
| 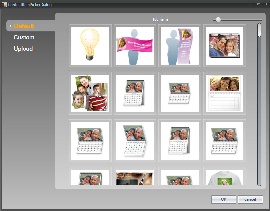 Image Added Image Added
| Category Options Window | Category Icon Selection |
|