We have a ton of print products in the library. If the name doesn't exactly match, you can edit it to what you need. It is the size that is the important part. If you do not find the size you need, then you can create your own custom print product. To do this...
Video tutorial:
| Widget Connector | ||||||
|---|---|---|---|---|---|---|
|
Another video:
| Widget Connector | ||||||
|---|---|---|---|---|---|---|
|
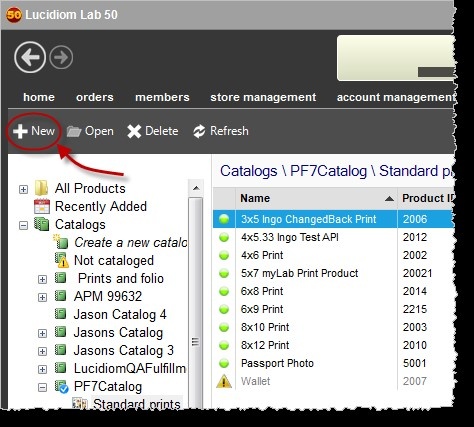
Directions in screenshot form: To create a new print product for online ordering or a new membership:
In Lab 50, go to Store Management > Product Catalog. Click on the "New" button.
Choose Prints or Memberships and fill in the details.
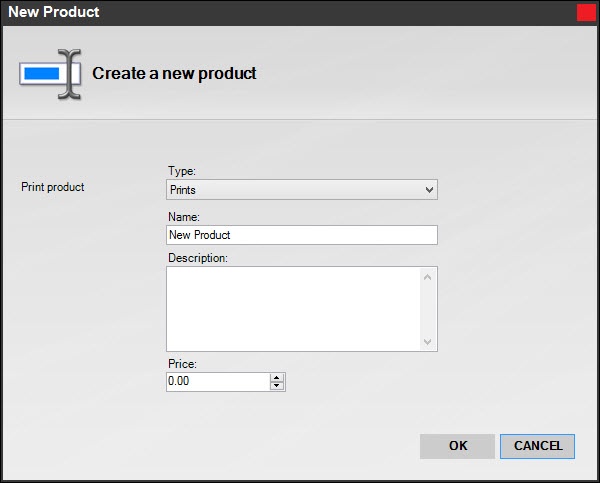
Then fill in the details for the product.
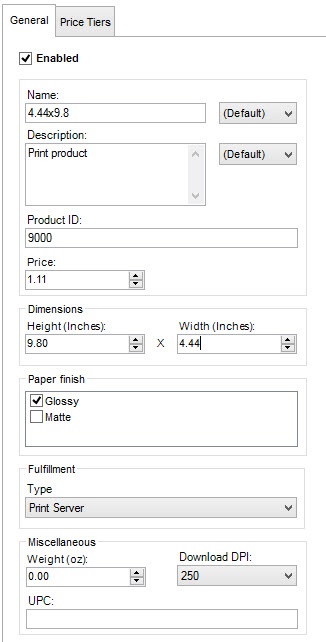
For print products:
- Name/Description: Make sure you fill in a consistent name, and a good description (do not just copy the name). Descriptions are used in the Search feature, along with the product name.
- Product ID: Use a number in 9000-9999 range, which is the bracket we have reserved for client use. It is important that numbers are not duplicated.
- Enter price, dimensions of the output and paper finish if needed.
- Fulfillment for locally printed products should be set to Print Server
- Weight is used (optionally) for shipping
- The DPI value is not used, as we now send across the highest available image for printing.
- UPC is for your internal use.
After defining your new product, then navigate to the catalog and group where you want the product to show up and click Add Products, and select your new product.
To route your custom product for printing: https://wiki.photofinale.com/x/OwCfBg