...
Photoshop Tutorial: | |
|---|---|
Step 1, get the template: Download the template here: http://secure.photofinale.com/app.zip | |
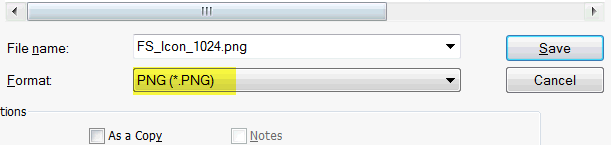
Step 2, the icon: Open the icon.psd and add your logo/art to the file, and turn off the directions layer. (If you need a nice gradient, use the template in Step 3...there are some layers in that file you might like to try out.) Flatten the art (to ensure there is no transparency) and save as a png (use filename: icon.png). We just need the one size, we will generate the rest.
|
|
Step 3, test it in action: Try it out! Download this template from PixelResort: http://appicontemplate.com/ Open the smart layer for the icon and paste in your own, close the psb and see what your icon will look like in action! This template file also has some nice gradients set up as layers, which you may want to use in your icon. |
|
Step 4, the splash: Open the splash.psd from the same zip. The splash template is 2208x2208 with a 1200x1200 square in the center (guides are in the psd template). Fill the background and center your art in the square, we will generate the sizes needed...they will be vertical (iPhone) and horizontal (iPad), so anything outside that square will get cut off. OR, If you would like to create each specific splash screen size separately, we need: these sizes:
|

Need Help?
Contact Rachel at rachel@photofinale.com.
...
| Info |
|---|
After reading these instructions, fill out this form with the details and graphics for your app. |
...