...
- At the top of the Menu bar, select Settings.
- On the left panel, select Photo Processing > Photo Editing.
- On the right panel, select the editor you would like to use.
- After making the necessary changes, press Apply Changes or Save and exit.
| Wiki Markup | |
|---|---|
{table-plus | |
| columnAttributes | :align=center|columnAttributes=style="text-align:center;" |
| align | center | 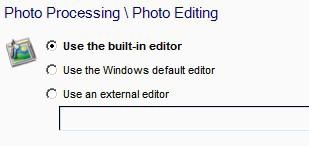 }
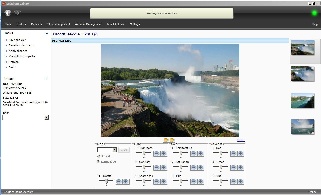
|!PhotoProcessing.JPG|thumbnail,border=1!|
{table-plus} |
The built-in editor offers standard tools to adjust the photo orientation, lighting, and color. Once editing is complete, the changes may be applied to the original photo or saved as a new file, and the editor may continue on to the next photos within the order or closed after a quick, single photo edit.
| Wiki Markup | |
|---|---|
{table-plus | |
| columnAttributes | :align=center|columnAttributes=style="text-align:center;" |
| align | center |
|